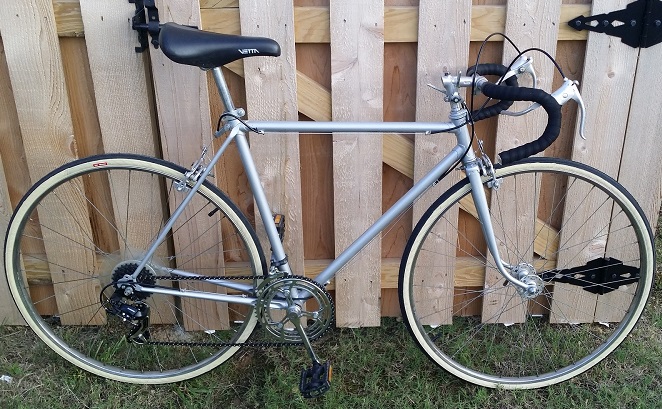
Back in Feburary while helping my father-in-law repair his shed, I discovered his old Motobecane road bike. When I first saw it I became a little excited because I thought it might be fun to restore, but he hadn’t ridden it in over 15 years or so and I had never restored anything before.
A few months later I was looking at road bikes for fun at our local bike shops and test rode a few. That got me excited for a road bike, but I didn’t have the cash. Then I had the bright idea that maybe I could restore my father-in-law’s old Motobecane. To say the least, it was in really bad shape.
So over a few months, I set out to restore it. The paint was really bad so I thought I’d repaint it, which I don’t recommend doing yourself unless you really know what you are doing (which I don’t). Unfortunately I didn’t get any good pictures before I started but I took several pictures during the process:
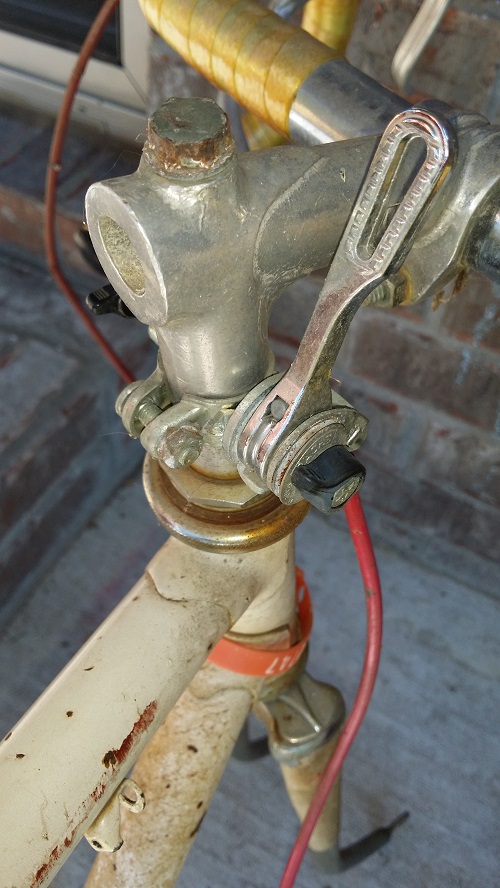
Friction Shifters
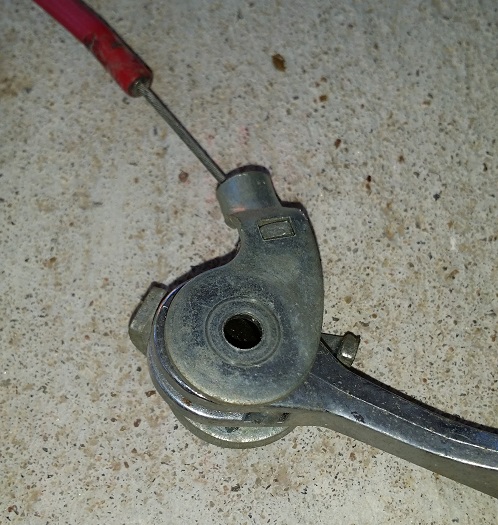
Friction shifter up close
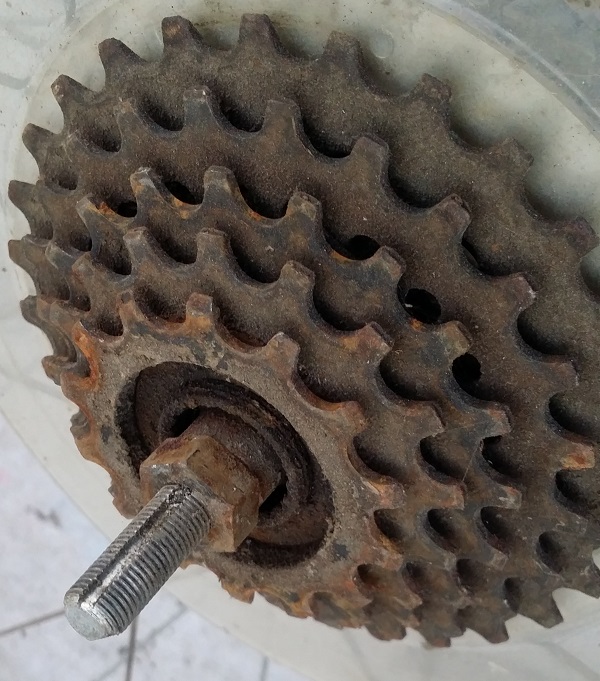
I had to purchase a special freewheel hub removal tool to get this off.
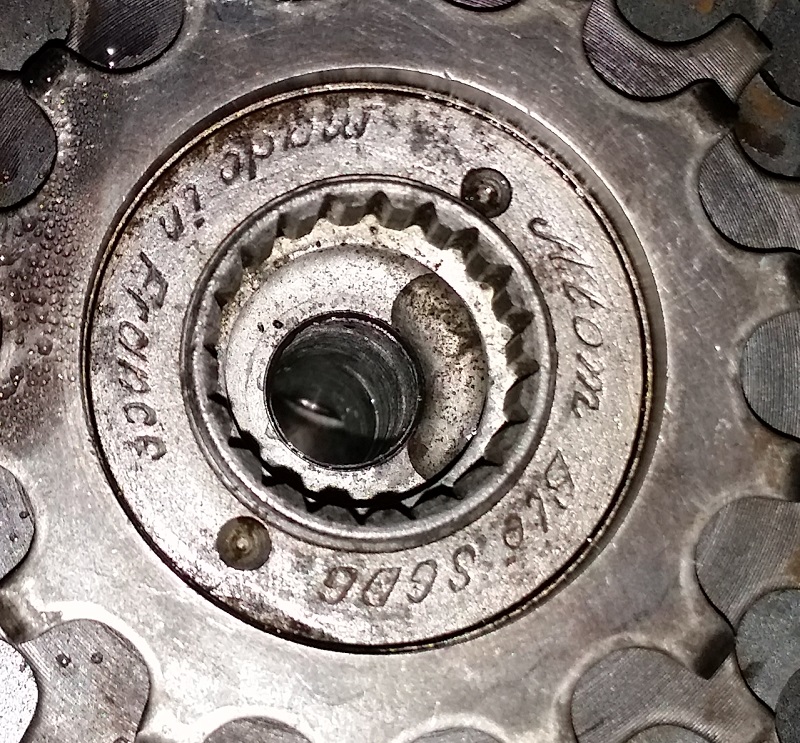
I rebuilt the freewheel and replaced all the bearings. Keeping track of the tiny bearings can be difficult.
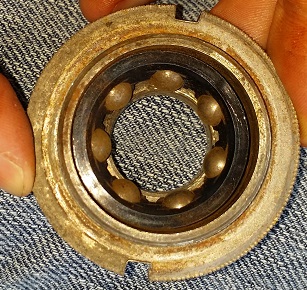
I replaced the bottom bracket bearings. I couldn’t get the fixed cup off the bottom bracket and busted a 5/8” bolt trying to remove it using the method I found on Youtube! I ended up doing my best to clean it without removing it.
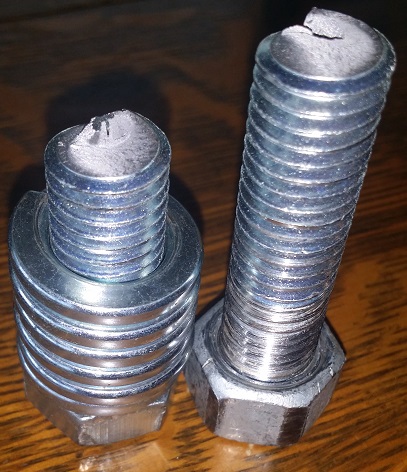
My wife wasn’t thrilled helping out after I smashed her toe with the wrench. She held the bike (I still don’t have a bike stand) while I turned the bolt with the huge adjustable wrench. The bolt busted and wrench came down and brused my wife’s toes and ankle.
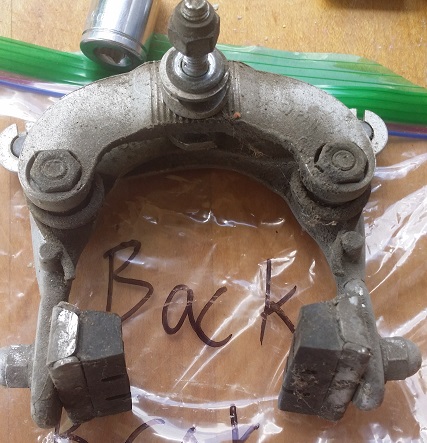
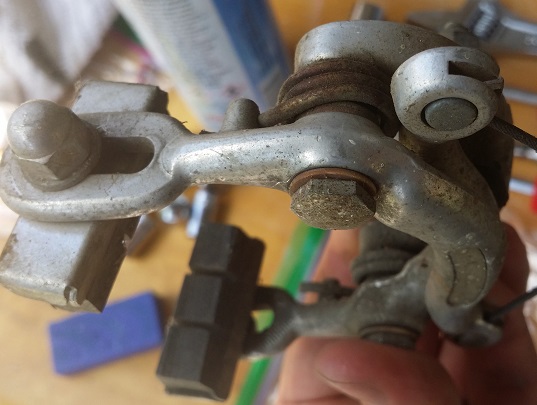
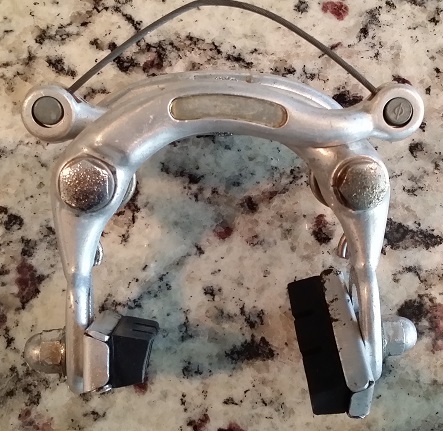
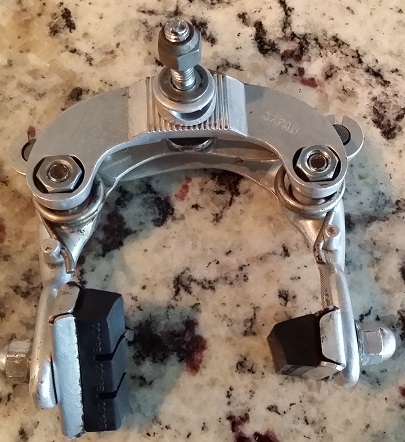
I used Evapo-Rust to remove the rust from a lot of parts. It worked well and is safe to use, however it is kind of expensive.
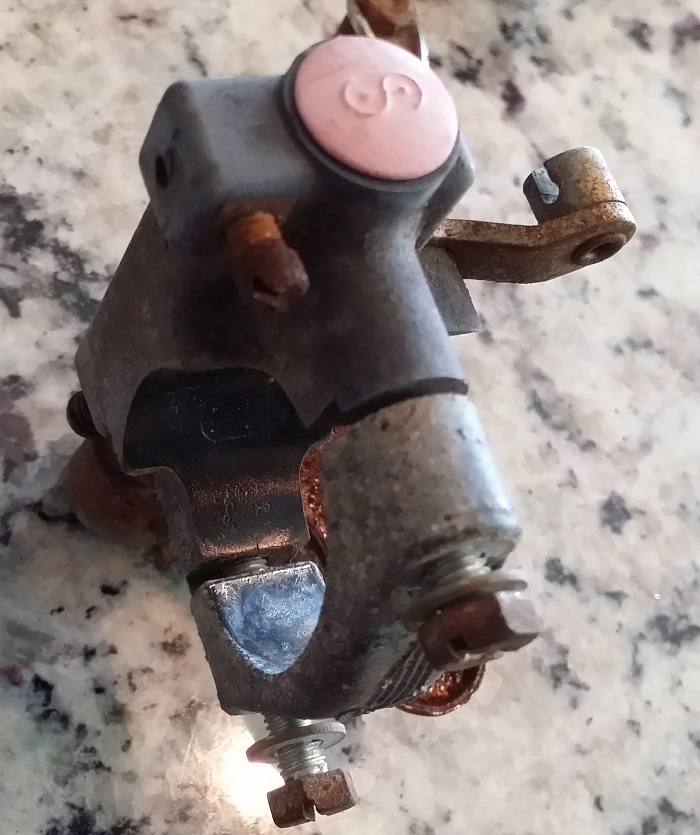
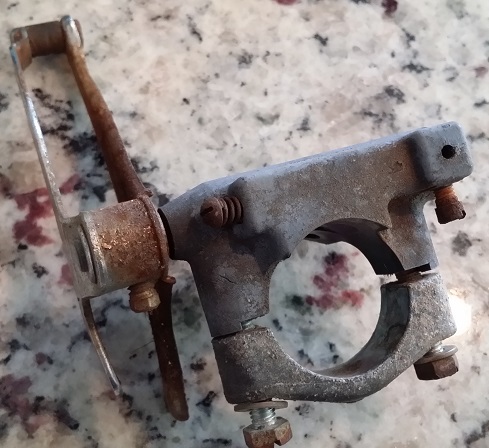
This was very cheap simplex front derailluer. However, since I didn’t have a lot of money to spend, I ended up using lots of cleaner and a hammer to un-seize it. That was after soaking it in the Evapo-Rust for 12+ hours.
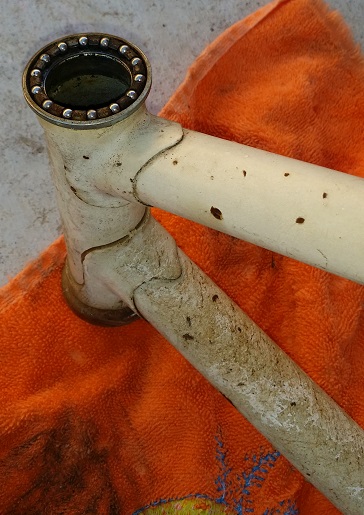
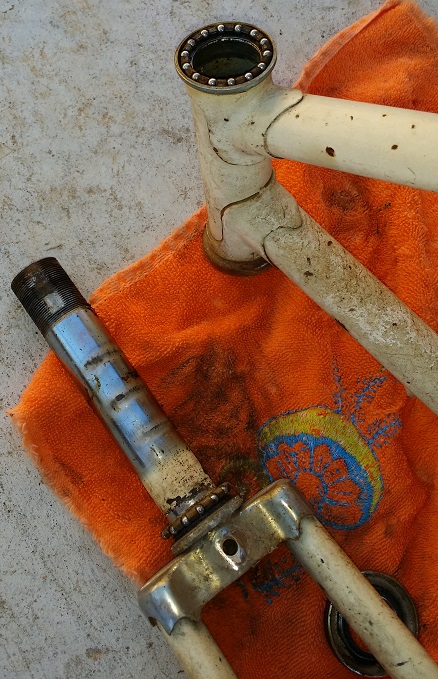
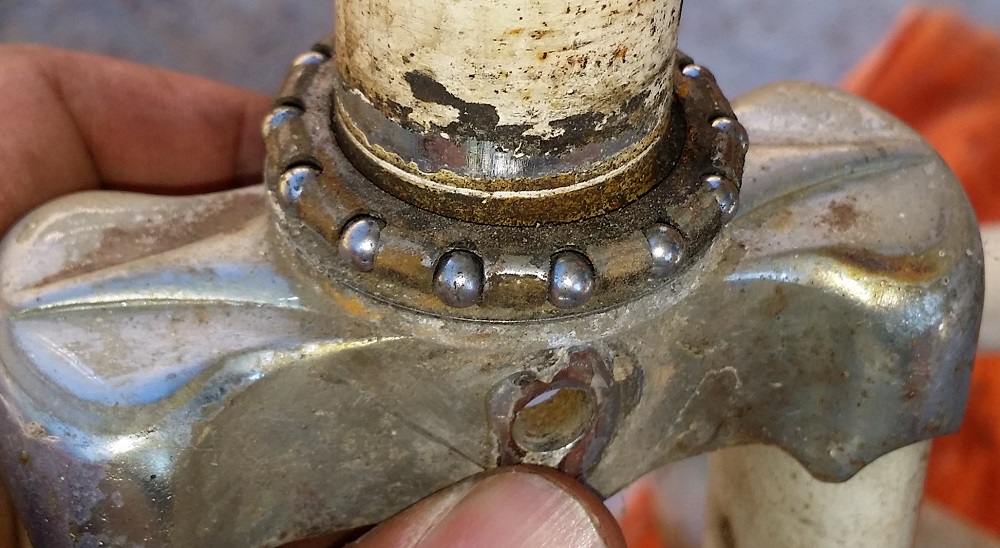
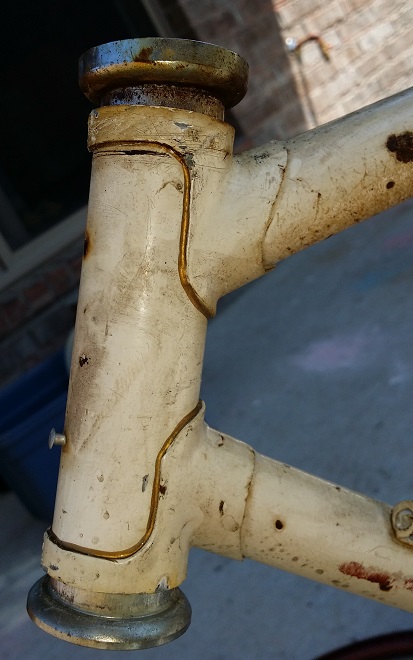
I replaced all the headset bearings. I probably could have reused them but I bought a bunch of different sizes on Amazon.com.
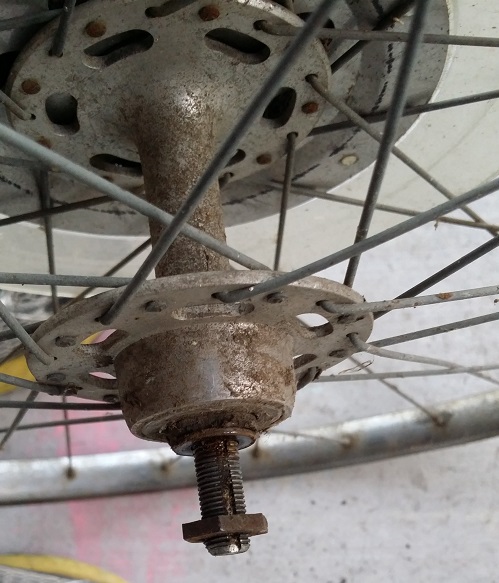
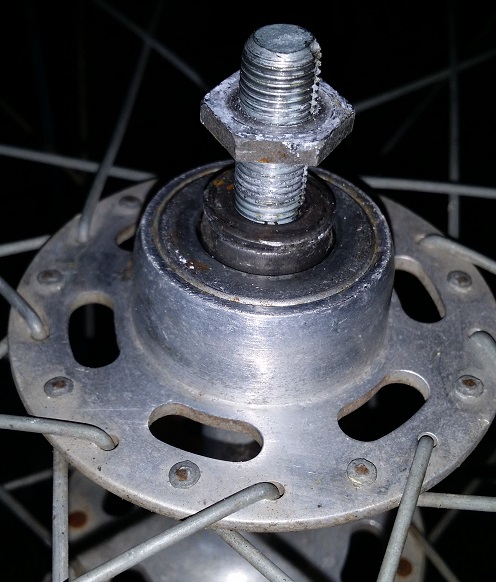
I replaced all the bearings in the hubs.
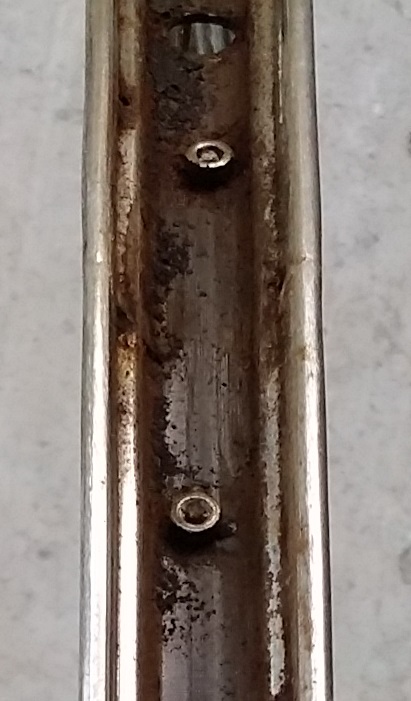
The rims were very rusty. I used wire wheel on my drill to remove the rust on these. Not sure if that was a smart idea but I didn’t have enough solution to soak them.
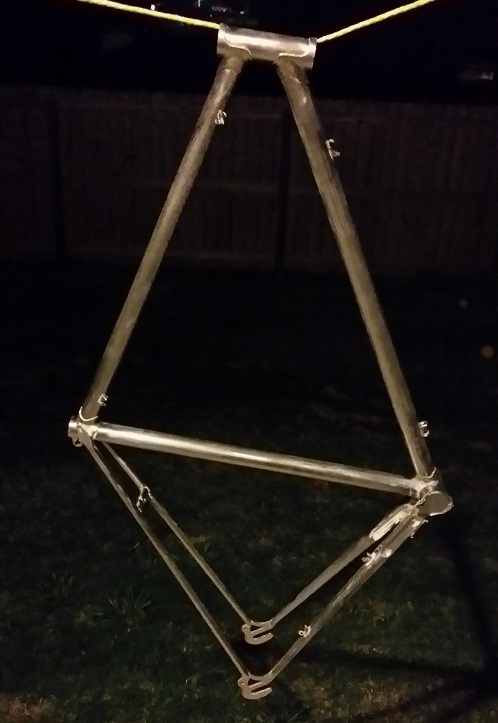
I ended up hanging the frame up by rope while I painted it with spray paint. First I primed it, then painted it silver, then finished off with a clear. I didn’t do a very good job, but I tried. It does look better than when I first started though.
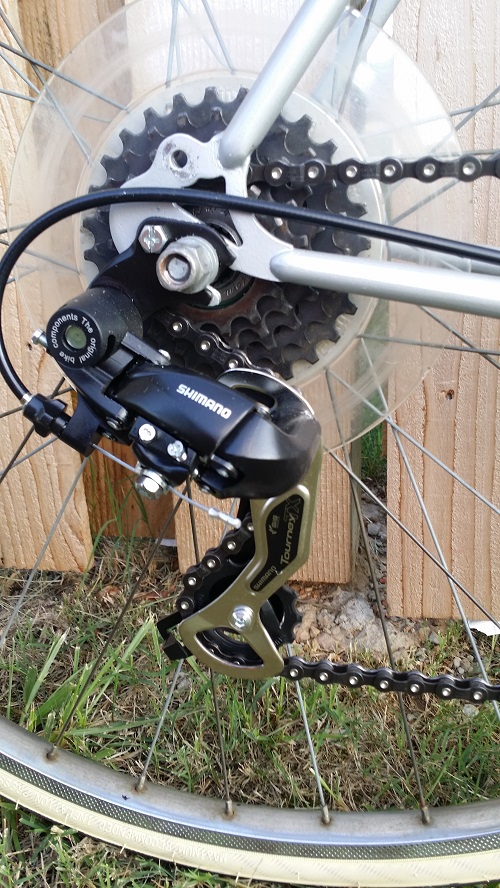
I ended up replacing the rear derailluer, it was a cheap Simplex derailluer and had some broken pulleys. It was cheaper to buy the Tourney derailluer than to buy new pulleys.
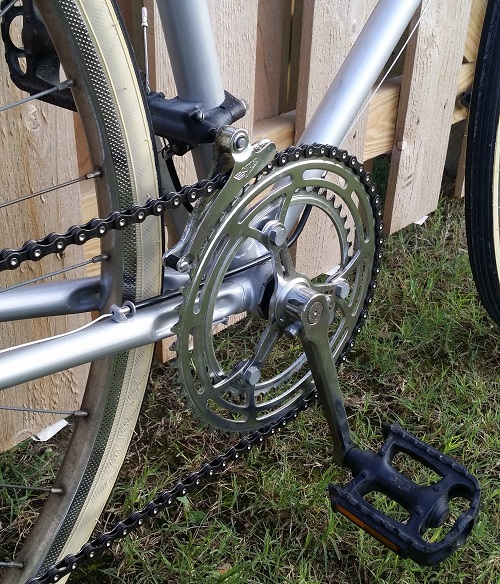
The pedals were bent badly and didn’t spin well so I chucked them and used some plastic pedals I had lying around. The crank itself turned out nice, and I didn’t even have to replace the cotter pins! I recently got another bike off of Craigslist where the pins didn’t come out without a vice so I was surprised I didn’t have any trouble with these pins.
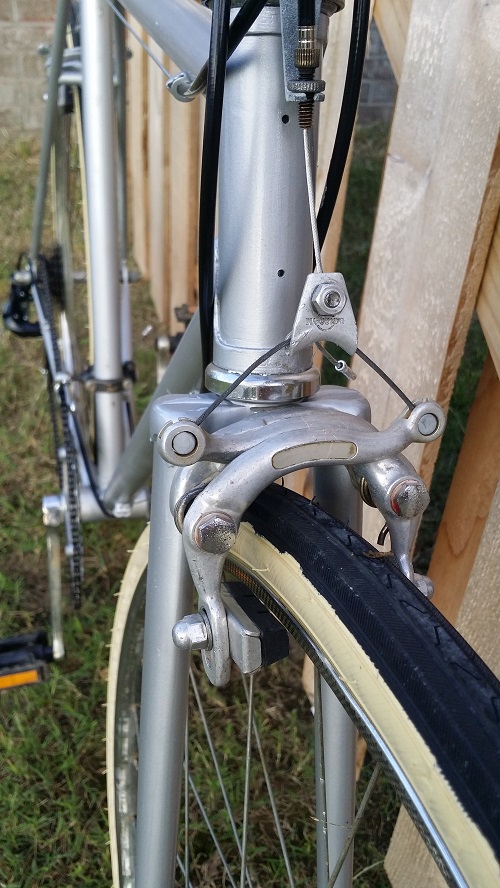
I purchased new tires, tubes, cables, and cable housing.
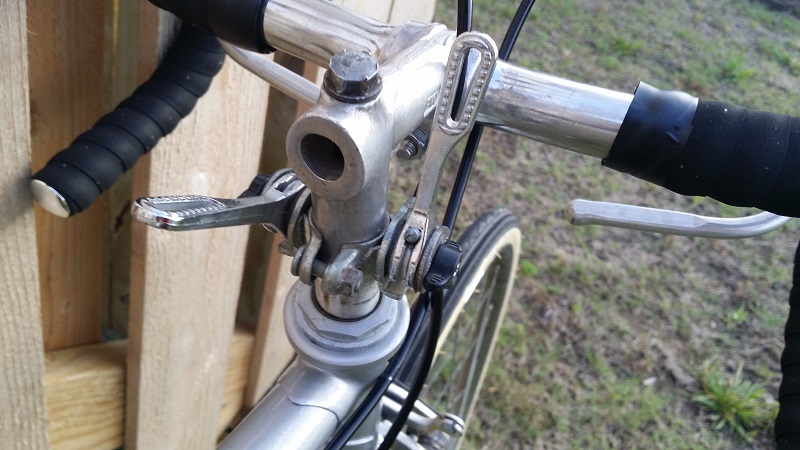
New handlebar tape. Youtube was a huge help on learning how to properly wrap these old 10 speed bikes.
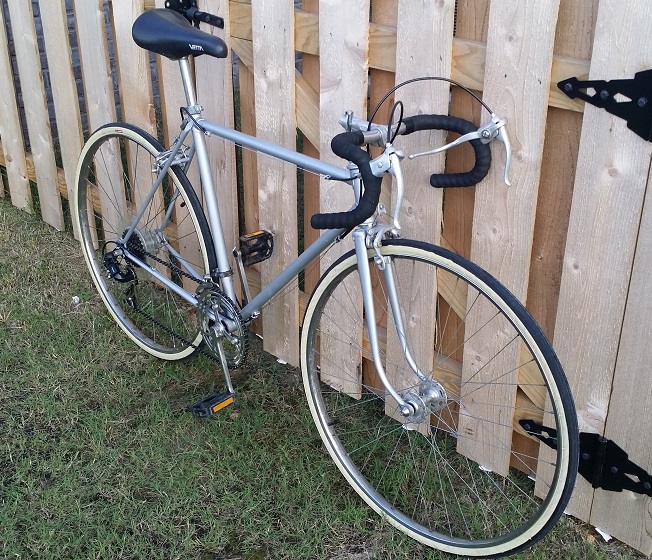
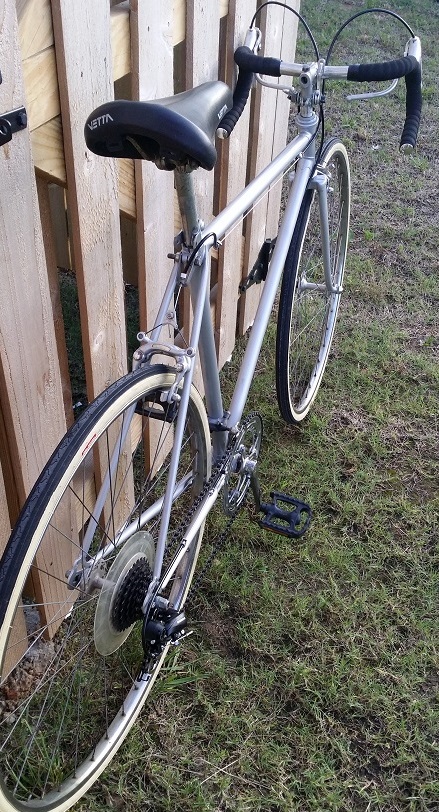
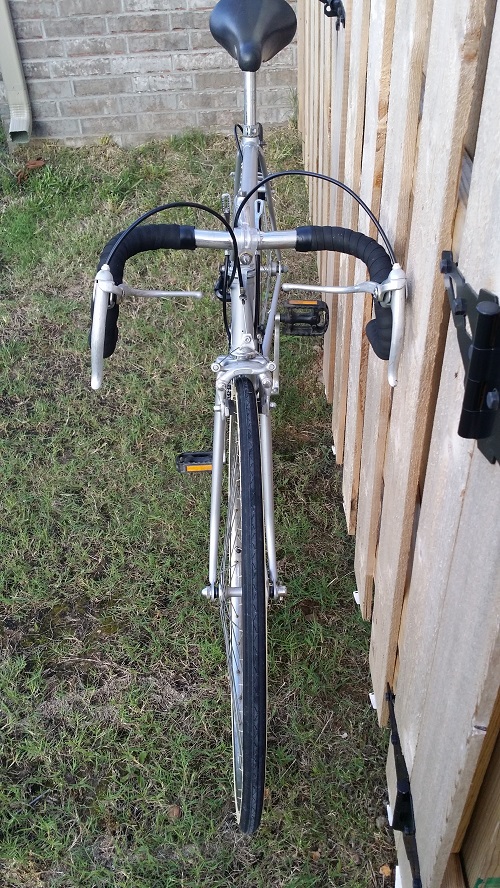
I learned a lot from this project. My father-in-law was very surprised. I ended up giving it back to him for fathers day so he didn’t know I was doing anything to his old bike.
I’m looking forward to my next project. It’s a Raleigh Sprite.